
Lens Adapters Part 1
George Here!
Just as promised, I'm going to review the adapters I use The Fotodiox FD - EOS Adapter and, next week I'll talk about the Rainbow Imaging AF Confirm M42 Screw Mount Lens to Canon EOS EF Mount adapter..
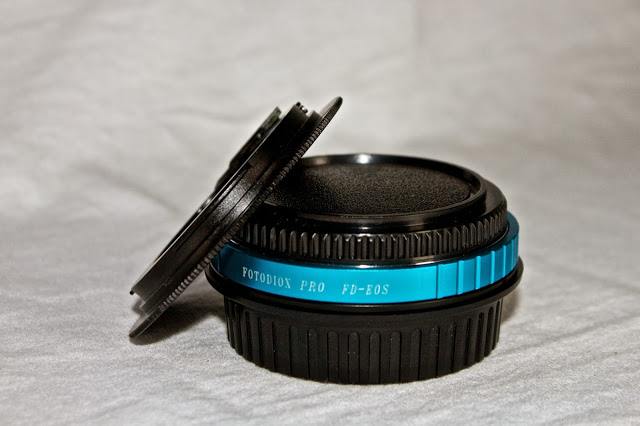
FD - EOS
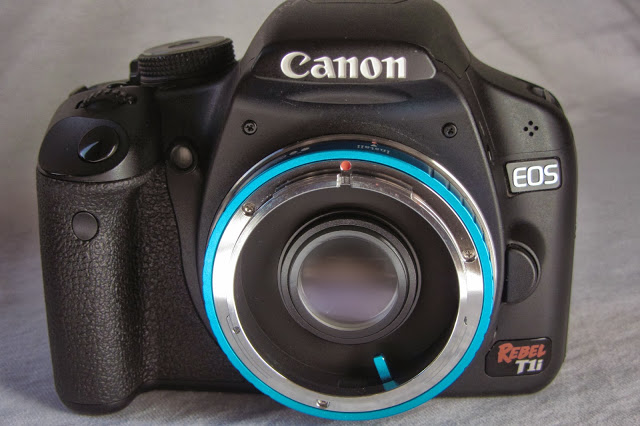
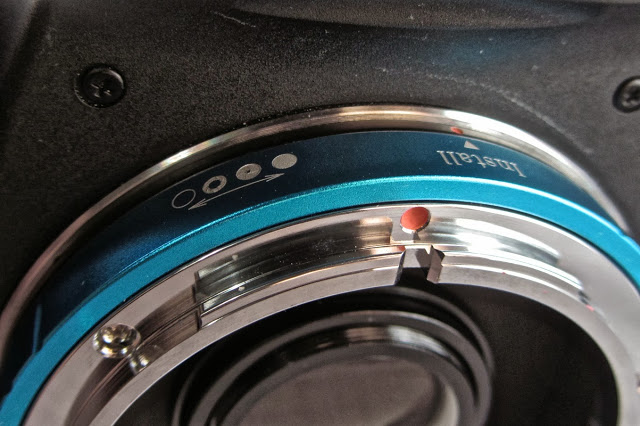
When I saw it on the website, it looked very flimsy and I was worried about it breaking. But the pictures do no justice to this adapter. It's reasonably sturdy. I wouldn't drive over it with a car, but it's good enough if you don't drop your camera a lot. The mount is very sturdy, on both the FD and the EOS side. The ring to install as you see here has a VERY nice feel when it comes to locking the lens in. When you want to put your lens in, make sure the red dot on top and the install arrow are aligned perfectly. Then once the lens itself is mounted, twist clockwise (from this angle) until the filled white dot on top is as close as it can get. Then once that is done, you use the lens the same way you would as if it was on a film camera. One quick note, don't slide Aperture wheel until it hits the green "A". It will lock up and it very hard to remove if it's there. You can see from the Images below how it looks, mounts, and the white dots I'm talking about.

The images taken with this adapter are amazingly sharp, considering that you're adding another piece of glass between the lens and the sensor. Here are some sample images from this adapter & the 100mm Macro.

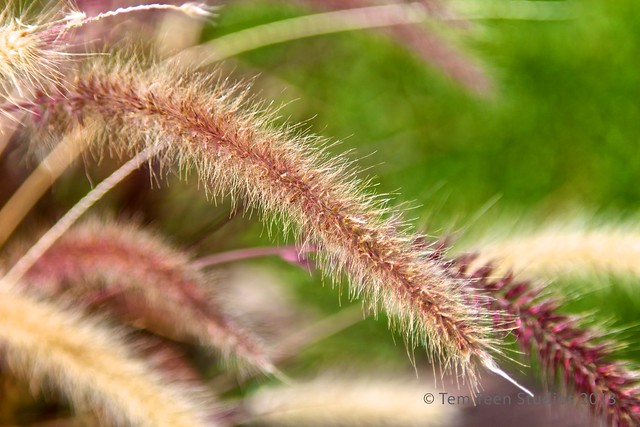

I love this adapter a lot. One of the few downsides are that you lose a stop of light when using it. To understand what I mean I set up an equation: x = light. x + adapter = 1/2x. So you need to factor that in when you're using this adapter. Another one is that you have to keep it hilariously clean in order to get results like this. But other than part, I really like this adapter. Would I recommend it? Absolutely!
Next week I'll be reviewing the M42. But that's all for now. ¡Adios!